 Sage Wholesale
Ten steps to the perfectly wrapped gift
___
Published Date 12/13/2023
Are you one of those people whose mom delighted in wrapping tons of gifts at holiday time, but forgot to teach you how?
Well, Country Living’s Charlyne Mattox cared enough to offer you some simple steps to follow so that the gifts you give don’t look like a jumble of paper thrown around a box with tape all over it.
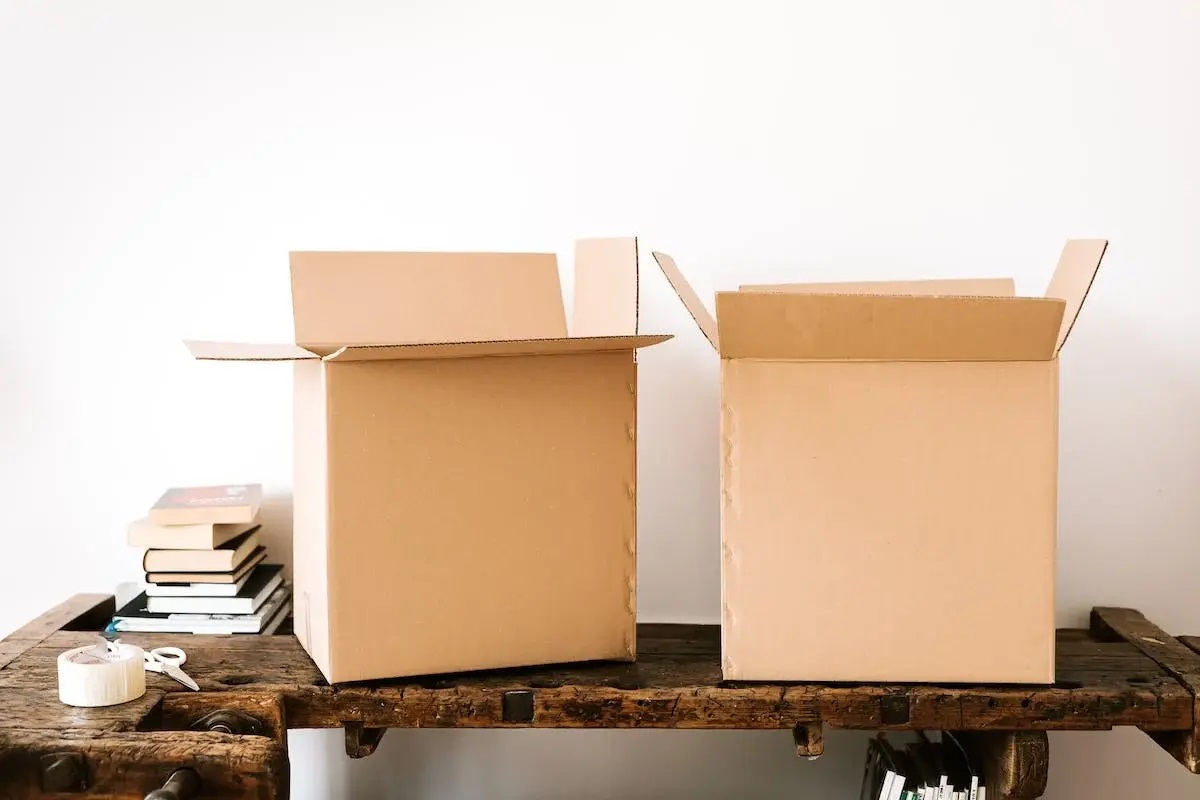
First, the basics. “It’s so much easier to wrap something square or rectangular. Do yourself a favor and pack your gift into a box,” she says. Taping it shut is recommended — especially with double-sided tape if you can get your hands on some.
She goes on. The cardinal rule for choosing wrapping paper is — the thicker, the better. And try to find rolls with grid patterns on the back. Get yourself a very sharp pair of scissors with a comfortable handle to make cutting the paper a snap but also ensure that the ends of your ribbon have clean cuts.
Step 1: Cut the wrapping paper
Place the box facedown on top of your gift wrap, leaving the paper attached to roll. Use your scissors to cut paper along one side, making a wide enough sheet to cover both sides of the box. You may have to do a “roll around” to make sure there is a bit left over before cutting. Not having enough means wasting paper and starting over, or piecing paper together — which looks bad.
Step 2: Fold it over
“While standing on the same side of the table as the roll, pull paper tautly up and over the far end of the box,” she advises. “Adhere with double-sided tape, and crease paper along the box's edge with thumb and forefinger.”
Step 3: Join the ends
Now unroll the paper and bring it to meet the already wrapped end. With as straight a cut as possible, cut paper from the roll, leaving an inch of overhang. Fold that inch under and crease along the fold. (The extra width can make up for a crooked cut if folded straight.) Adhere using double-sided tape.
Step 4: Close the open ends
Mattox says now it's time to tackle one of the open ends of the box. “Push the sides of the paper inward, creating four 45-degree-angle flaps. Kind of like how an envelope looks. Then crease it along the flaps.
Step 5: Fold it down
Fold down the top flap. Crease it sharply along the top of the box, then crease again where the paper meets the bottom edge of the box. Cut the paper along that bottom crease. Adhere it to the box with double-sided tape.
Step 6: Get rid of the excess paper
No. Not the rest of the roll. Just the excess paper on the bottom flap so that it lines up perfectly with the top of the box. Apply double-sided tape to the bottom flap, then fold it over the top flap and adhere.
Step 7: Close the other side
Now it’s time to repeat steps four through six on the box's remaining open end. Finish all sides by running your pinched thumb and forefinger along the edges to create sharp lines.
Step 8: Add the ribbon
Yes. You need a ribbon. A wide ribbon is more fun. Lay the wrapped box face-down on a length of ribbon approximately five times as long as the box. Pull the ends of the ribbon up bringing the right end over the left. Pull it width-wise so they cross.
Step 9: Thread the ribbon
Now turn the box over. “You should have two ribbon ends of about the same length,” says Mattox. “Thread each end under the ribbon already in place.” Then make a double knot and tie it into a simple bow. Use your fingers to shape the loops.
Step 10: Trim the ends
We’re almost done. Pinch the ribbon ends lengthwise and cut at a 45-degree angle to create forked ends, or just leave them angled.
That's it—all wrapped up and ready to gift! Oh. And there are plenty of gift-wrapping vids on YouTube to give you the visuals.
CountryLiving, TBWS
All information furnished has been forwarded to you and is provided by thetbwsgroup only for informational purposes. Forecasting shall be considered as events which may be expected but not guaranteed. Neither the forwarding party and/or company nor thetbwsgroup assume any responsibility to any person who relies on information or forecasting contained in this report and disclaims all liability in respect to decisions or actions, or lack thereof based on any or all of the contents of this report.
This content is not intended for consumer use as defined under Regulation Z and is intended for approved brokers’ informational use only. Pricing and/or program parameters are subject to change without notice. The information on this site is not intended as an offer to extend credit nor a commitment to lend. Products and services are not available to residents of states in which Sage Home Loans Corp. is not licensed. Sage Home Loans Corp. is not licensed in all 50 states. See "Where We Lend" for additional licensing information about the company. Sage Home Loans Corporation NMLS ID #3304 (Sage Home Loans Corporation (CA) in the state of Georgia; Sage Loans Corporation(CA) in the states of Florida, Nebraska and Washington), formerly known as Lenox Financial Mortgage Corporation (doing business as WesLend Financial, WesLend Financial Corp., Lenox Financial Mortgage Corporation (CA), Lenox Financial Mortgage Corporation of California). ©2024


Sage Wholesale
Marketing
NMLS: 3304
Sage Wholesale
200 SANDPOINTE AVE, 8th Floor, SANTA ANA CA 92707-5751
Company NMLS: 3304
Office: 949-681-5253
Cell: 818-793-6650
Email: Info@SageTPO.com

Sage Wholesale
___
Marketing
NMLS: 3304
Cell: 818-793-6650
Last articles
___


Load more